How to Maintain Concrete

Concrete is known for its strength and durability, often lasting up to 50 years. However, this longevity isn’t guaranteed without proactive maintenance. Regular upkeep preserves the structural integrity and appearance of the concrete while preventing costly repairs and replacements in the long run.
In this article, we’ll explain how to maintain both interior and exterior concrete. Let’s start with interior.
Interior Concrete

Cleaning
The biggest maintenance task for interior concrete is cleaning.
Start by dry dusting your concrete using a microfiber mop or cloth. Doing this just once a week can help maintain most of the surface’s sheen.
For deeper cleaning, use a wet mop with a pH-neutral cleaner. This type of cleaner will effectively remove grime and stains without harming the concrete’s finish, as an acidic or alkaline cleaner will do. Depending on how dirty your concrete often gets, you can deep clean every week, every other week, or once a month. For example, a concrete surface in a garage is more likely to develop grime buildup quickly and should be wet mopped at least once a week. Additionally, if you have dogs, you may want to mop every week or other week to get rid of any wet paw print stains. If you notice stains on your concrete, you should try to take care of them as soon as possible. The longer you wait, the harder it will be to get out.
Sealing
Although interior concrete doesn’t need sealing as often as exterior surfaces, you should still reseal it every now and then to protect it from wear and tear. Sealing is typically recommended every few years, but the exact timeline can vary based on the level of traffic in your home and the type of sealer that was previously used.
The best way to verify if resealing is needed is to do a visual inspection, checking for areas where the finish appears dull or where water no longer beads on the surface. If you need to reseal your concrete, use a water-based acrylic sealer designed for indoor use. These are less toxic, easier to apply, and provide a durable finish that won’t yellow over time.
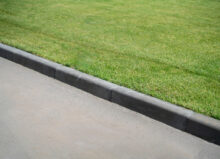
Exterior Concrete

Cleaning
Like interior concrete, routinely cleaning exterior concrete surfaces can help extend their lifespan.
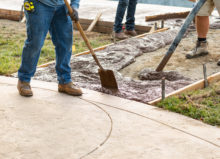
You’ll want to routinely sweep away debris like leaves, dirt, and gravel every week, which helps prevent debris accumulation that can lead to staining and surface abrasion. You may want to sweep more often depending on the location of your concrete and the season (e.g., if you’re in the Midwest, fall will be a busy season for you).
We also recommend power washing your concrete twice a year (in the spring and fall) to remove harder-set grime, mold, and mildew that can degrade the concrete over time. When you use a power washer, use a low-pressure setting to avoid damaging the surface, and take great care when you’re power washing around joints and edges, as the concrete may be more vulnerable in these areas.
For concrete driveways, you may notice oil, grease, and/or chemical spills. When you notice them, try to remove them as soon as possible using a commercial concrete cleaner and/or degreaser, depending on the stain type. After you use the cleaner, thoroughly rinse the area to remove any remaining cleaner residue.
Crack Repair

Over time, you may notice cracks in concrete, especially if you’re in an area that experiences below-freezing weather and heavy rainfall. Concrete is porous; when water seeps into it and freezes, it expands because ice occupies more volume than water. This expansion puts pressure on the concrete, causing it to crack and deteriorate. Then, when the ice melts, it leaves space that can be filled with more water, and the cycle repeats. This is called the freeze-thaw cycle.
You may notice two types of cracks: narrow and wide.
Narrow Cracks
Narrow cracks are considered to be any crack less than a quarter-inch wide. You can usually repair them with a liquid concrete crack filler or caulk-style repair compound. Before you apply any of these fillers or compounds, ensure the crack is clean/remove any debris using a wire brush. Apply the filler according to the manufacturer’s instructions and smooth it out until it’s level and matches the surrounding area.
Wide Cracks
If a crack is more than a quarter-inch wide, it’s considered a “wide crack.” To repair a wider crack, remove debris and chisel it until it’s a wider, undercut shape. Then, fill the crack with a sand mix or vinyl-patched concrete mix. The repair mix must be carefully blended and applied according to the manufacturer’s instructions. Otherwise, the results won’t be long-lasting.
While minor/narrow cracks are often DIY jobs, we really recommend seeking professional assistance for bigger concrete crack repairs.
Resolve Drainage Issues Immediately
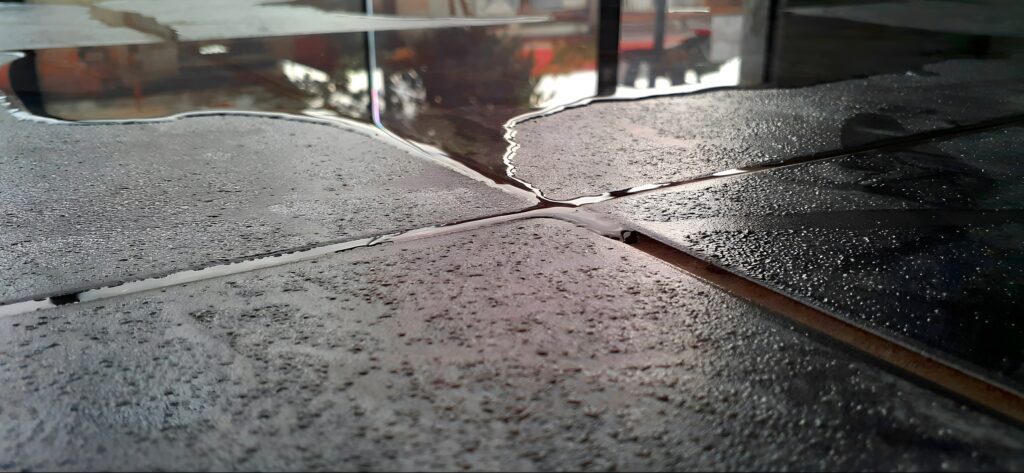
On the same note, a good way to prevent cracks in the first place is to resolve drainage issues. Although not specific to concrete, improper drainage inevitably leads to pooling water, which can significantly exacerbate concrete deterioration, including cracking and surface erosion.
First, water that remains on the concrete can seep into its surface, making it more susceptible to the freeze-thaw cycle we discussed earlier. Second, excessive water can undermine the base materials under the concrete, leading to uneven settling or sinking over time.
We recommend working with a professional if you have drainage issues. Solutions could involve regrading areas around the concrete to encourage runoff away from the structure, installing or cleaning gutters and downspouts, or installing a catch basin or French drain to reroute water.
Remove Ice in the Winter
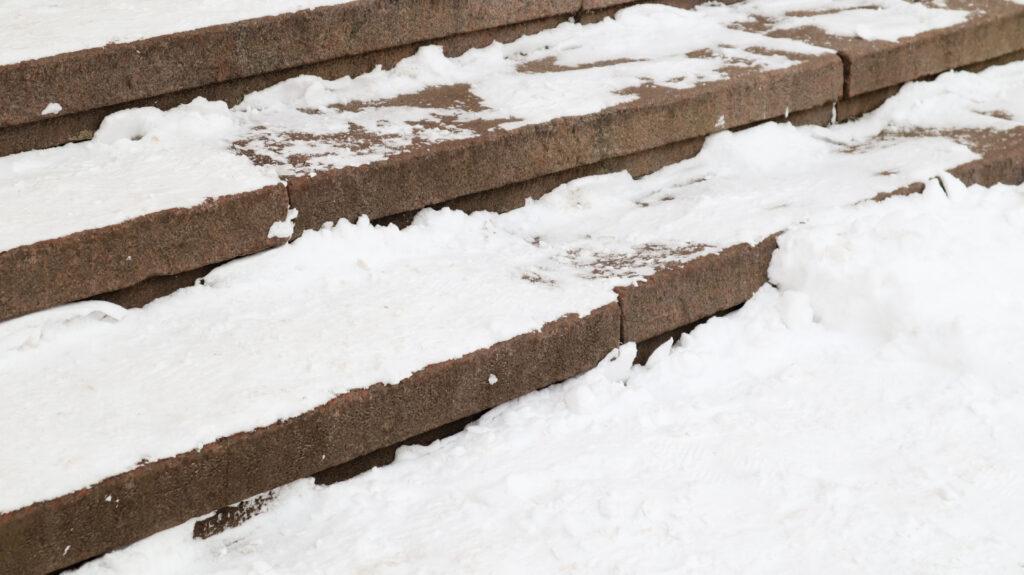
Again, you want to avoid water sitting on your concrete. So, in the winter, make sure to remove any ice that’s building up on the surface because when it melts, it could cause issues.
While this task may seem really simple, it’s actually very easy to make mistakes. Most homeowners don’t realize that most store-bought de-icers can damage concrete. When shopping for a de-icer, avoid salts like calcium chloride or sodium chloride, which can aggressively deteriorate concrete through chemical reactions and potentially corrode metal reinforcements embedded within the concrete, depending on the structure. Instead, look for more concrete-friendly alternatives like magnesium chloride or potassium chloride, which are less harsh. You could also look for pet-friendly de-icers, as these are usually safe for materials like concrete and brick.
Additionally, remember that a little goes a long way when applying the de-icer. There’s no need to be aggressive. Even if you’re using a concrete-friendly or pet-friendly de-icer, excessive use can still lead to some deterioration. So, be moderate, and if you know a snowstorm is coming, apply the de-icer before the storm rather than after, which will make removal much easier.
If you missed the window to apply a de-icer before a snowstorm, use a plastic snow shovel to remove snow or ice. Metal shovels can chip or scratch the concrete.
After inclement weather has passed, try to remove any slush or residual de-icing products to prevent damage.
Sealing
Lastly, if you want maintain concrete to last longer, you need to reseal it every few years. The rule of thumb is every two to three years. However, the frequency could increase depending on the location of your concrete and how often the surface is used. If it’s a heavy-traffic area (like a driveway or pathway), in an area that experiences frequent rainfall or is exposed to sunlight for most of the day, you may want to consider resealing every year or two.
If you’re not sure when your concrete was last sealed, or you’re just not sure if it’s time for your concrete to be resealed, look out for these signs:
- Worn or faded finish (especially if your concrete used to be very glossy or smooth)
- Water easily soaks or darkens the concrete. You’ll notice it after heavy rain, but you can also perform a bead test. Just sprinkle a few drops of water onto the concrete—if the water beads up, the sealer is performing well. If it isn’t, the surface needs to be resealed.
- Cracks, spalling (flaking or peeling) or erosion. If you notice these signs, you should repair the surface before resealing. The fact that there is visual damage means that the protective barrier provided by the sealer has weakened.
When choosing a sealer, find one that’s specifically for exterior use and one that can provide adequate protection based on your concrete’s location and the amount of traffic it’s exposed to. Driveways should probably get a heavier-duty sealer. You also need to ensure the sealer is compatible with the existing concrete.
Sealing can usually be done as a DIY project. However, if you notice visual damage or are unsure what type of sealer is needed, you should talk to a concrete contractor.
Get Repair & Maintenance Help From G&G Concrete
If your concrete is damaged, get help from G&G Concrete & Construction. We’ve been helping homeowners and businesses in Southeast Michigan for over 20 years. We offer a wide variety of services, including concrete installations and replacements, crack repair, resealing, catch basin installations, and more.
Please contact us today to get started with a free inspection and quote.